10 Minute Read

10 Minute Read
I write this post with a bit of nostalgia, as I am living in the US and the great pandemic of 2020 is still in full flux. Unfortunately. So, by my own way of reliving some fond memories, I wanted to write a few things about traveling with your bike on a plane.
At first, doing all of the below is going to seem daunting. It certainly was for me the first time I did it. Like, anxiety inducing level of daunting. Luckily I had a buddy who had recently gotten a bike box and had done all the mechanical stuff to get it prepared for a trip he did, so I had some level of confidence to offset my trepidation.
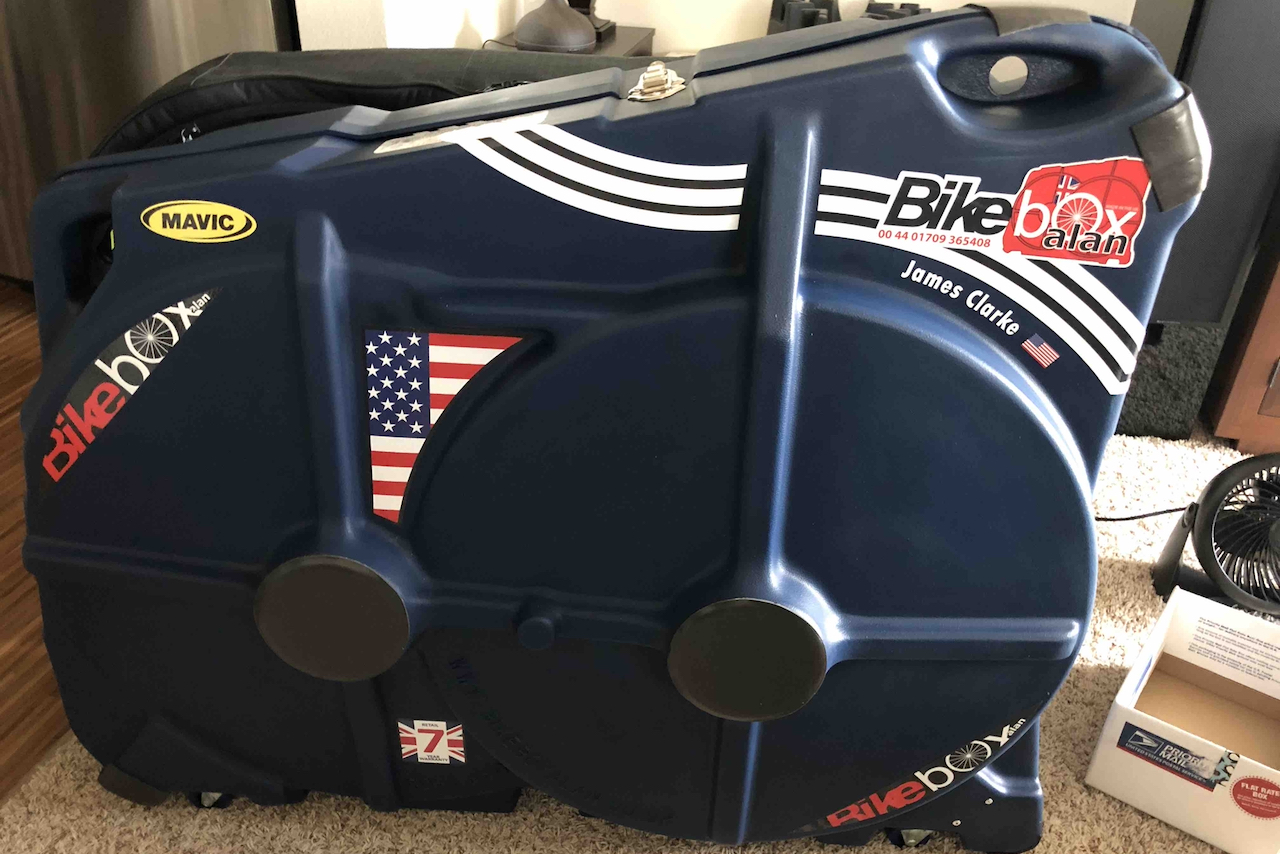
This is my number one point. There are a ton of bike boxes on the market, from soft shell bags like the EVOC bike travel bag and the SciCon Aerocomfort bag to the hard shell cases like the infamous BikeBoxAlan, and even newer products like the Airport Ninja that Phil Gaimon is a fan of (or so he says).
Let’s just get this out of the way early. A lot of people are fine with the soft shell bags, and they have their own pros and cons, but I’m personally a fan of a hard shell case. The main reason? Liability.
Airlines, when you read the fine print, all have various baggage requirements and fees and, most especially, fine print when it comes to what they will hold themselves accountable for and to when it comes to transporting your bags. Unfortunately, a lot of this is very much buried in unclear language and “legal-ese” that you may not be familiar with.
My main reason for pointing this out is that in my experience in reading some of this fine print is that the majority of carriers only technically hold themselves liable for bikes boxes in a hard case. Yes, they specifically enumerate it.
I actually know a couple who frequently flies with their matching 3T Strada bikes and one of them was broken in transit one time. The carrier said they weren’t liable because their case, which was literally made to work with the TSA and was sold specifically as such because it was not a hard case. It was a soft one. One of the nice ones that don’t require you to take apart your bike as much to pack it. I’m not sure exactly what came of the dispute, but it caused a lot of post vacation grief and frustration!
Look for the bike specific fees for your airline as early as you can, even making it a main point in choosing which airline you want to use. The fees there can be very high! And they seem to change every so often, too. A great link to refer to, while a bit old now, is this one from bicycling.com. The highlights, from my experience:
If you’re really serious about transporting a very nice road bike, get a BikeBoxAlan. They’re wildly popular over in Europe, where pros and non-pros alike transport their bikes a ton using the local airline carriers, and their design has been copied over many times by other brands. It’s an expensive first time purchase, and while it does have its quirks, it’s a great case.
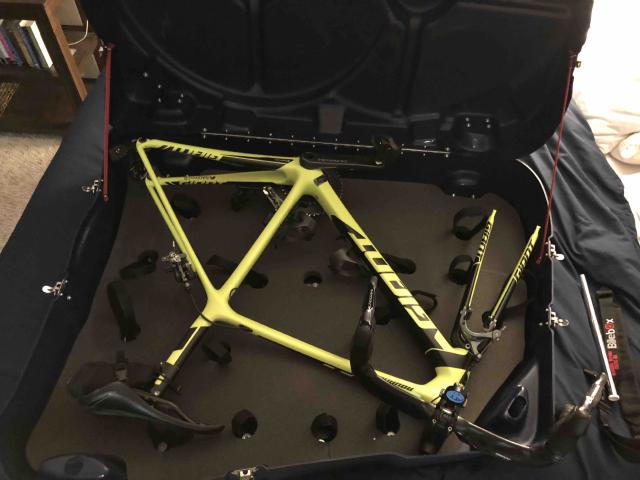
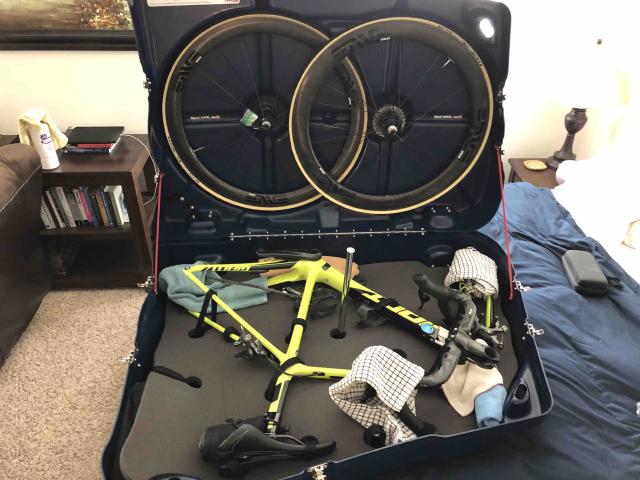
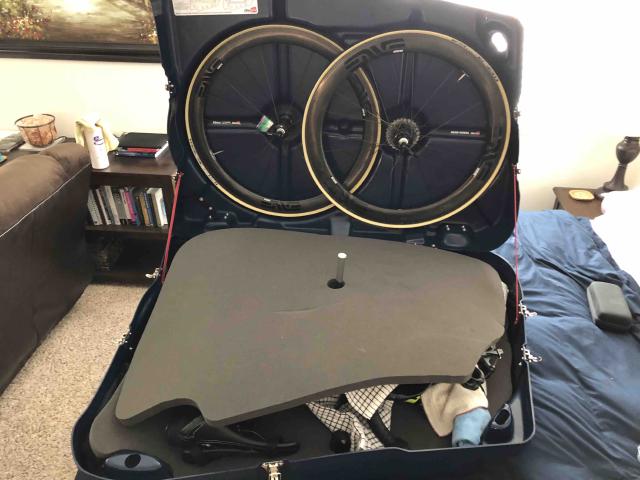
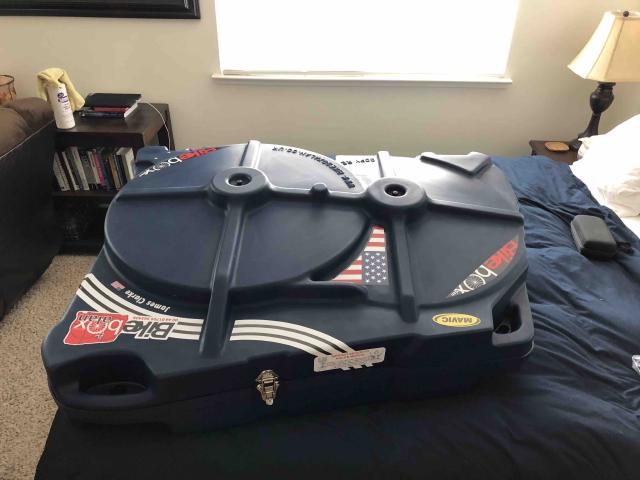
Oh, and a small thing I did with my case - I wrapped a couple layers of electrical tape on the end of the anti-crush pole. On its own, it wobbles a bit inside the cap it fits into, so in case someone opens the case to look at your bike, it’s very likely they will pop that thing off and suddenly not know what to do with it. At least with the tape, it stays in place a bit better!
This part I think is more due to my personality type, as I like to be more keenly aware of what’s going on with my bike than most. Basically, you’re going to have to disassemble parts of your bike to get it to fit into your box / bag. No way around that one! Some bags sell themselves on having to do less of this, which is great, but that story above of my friend’s bike that was broken? It was one of those bags that didn’t require you to take off the handlebars.
Like this one from BikeBoxAlan itself, or perhaps the slightly more generic one from GCN. Both are pretty old, but still very relevant.
A few key points I want to emphasize here based on my personal experience:
It’s not hard to put it back on, especially if you have a DI2 set up like I do (make sure to bring a di2 tool). Take a photo of what angle it’s at if you’re concerned about getting it right yourself, too. It’s worth doing so that this doesn’t happen to you:
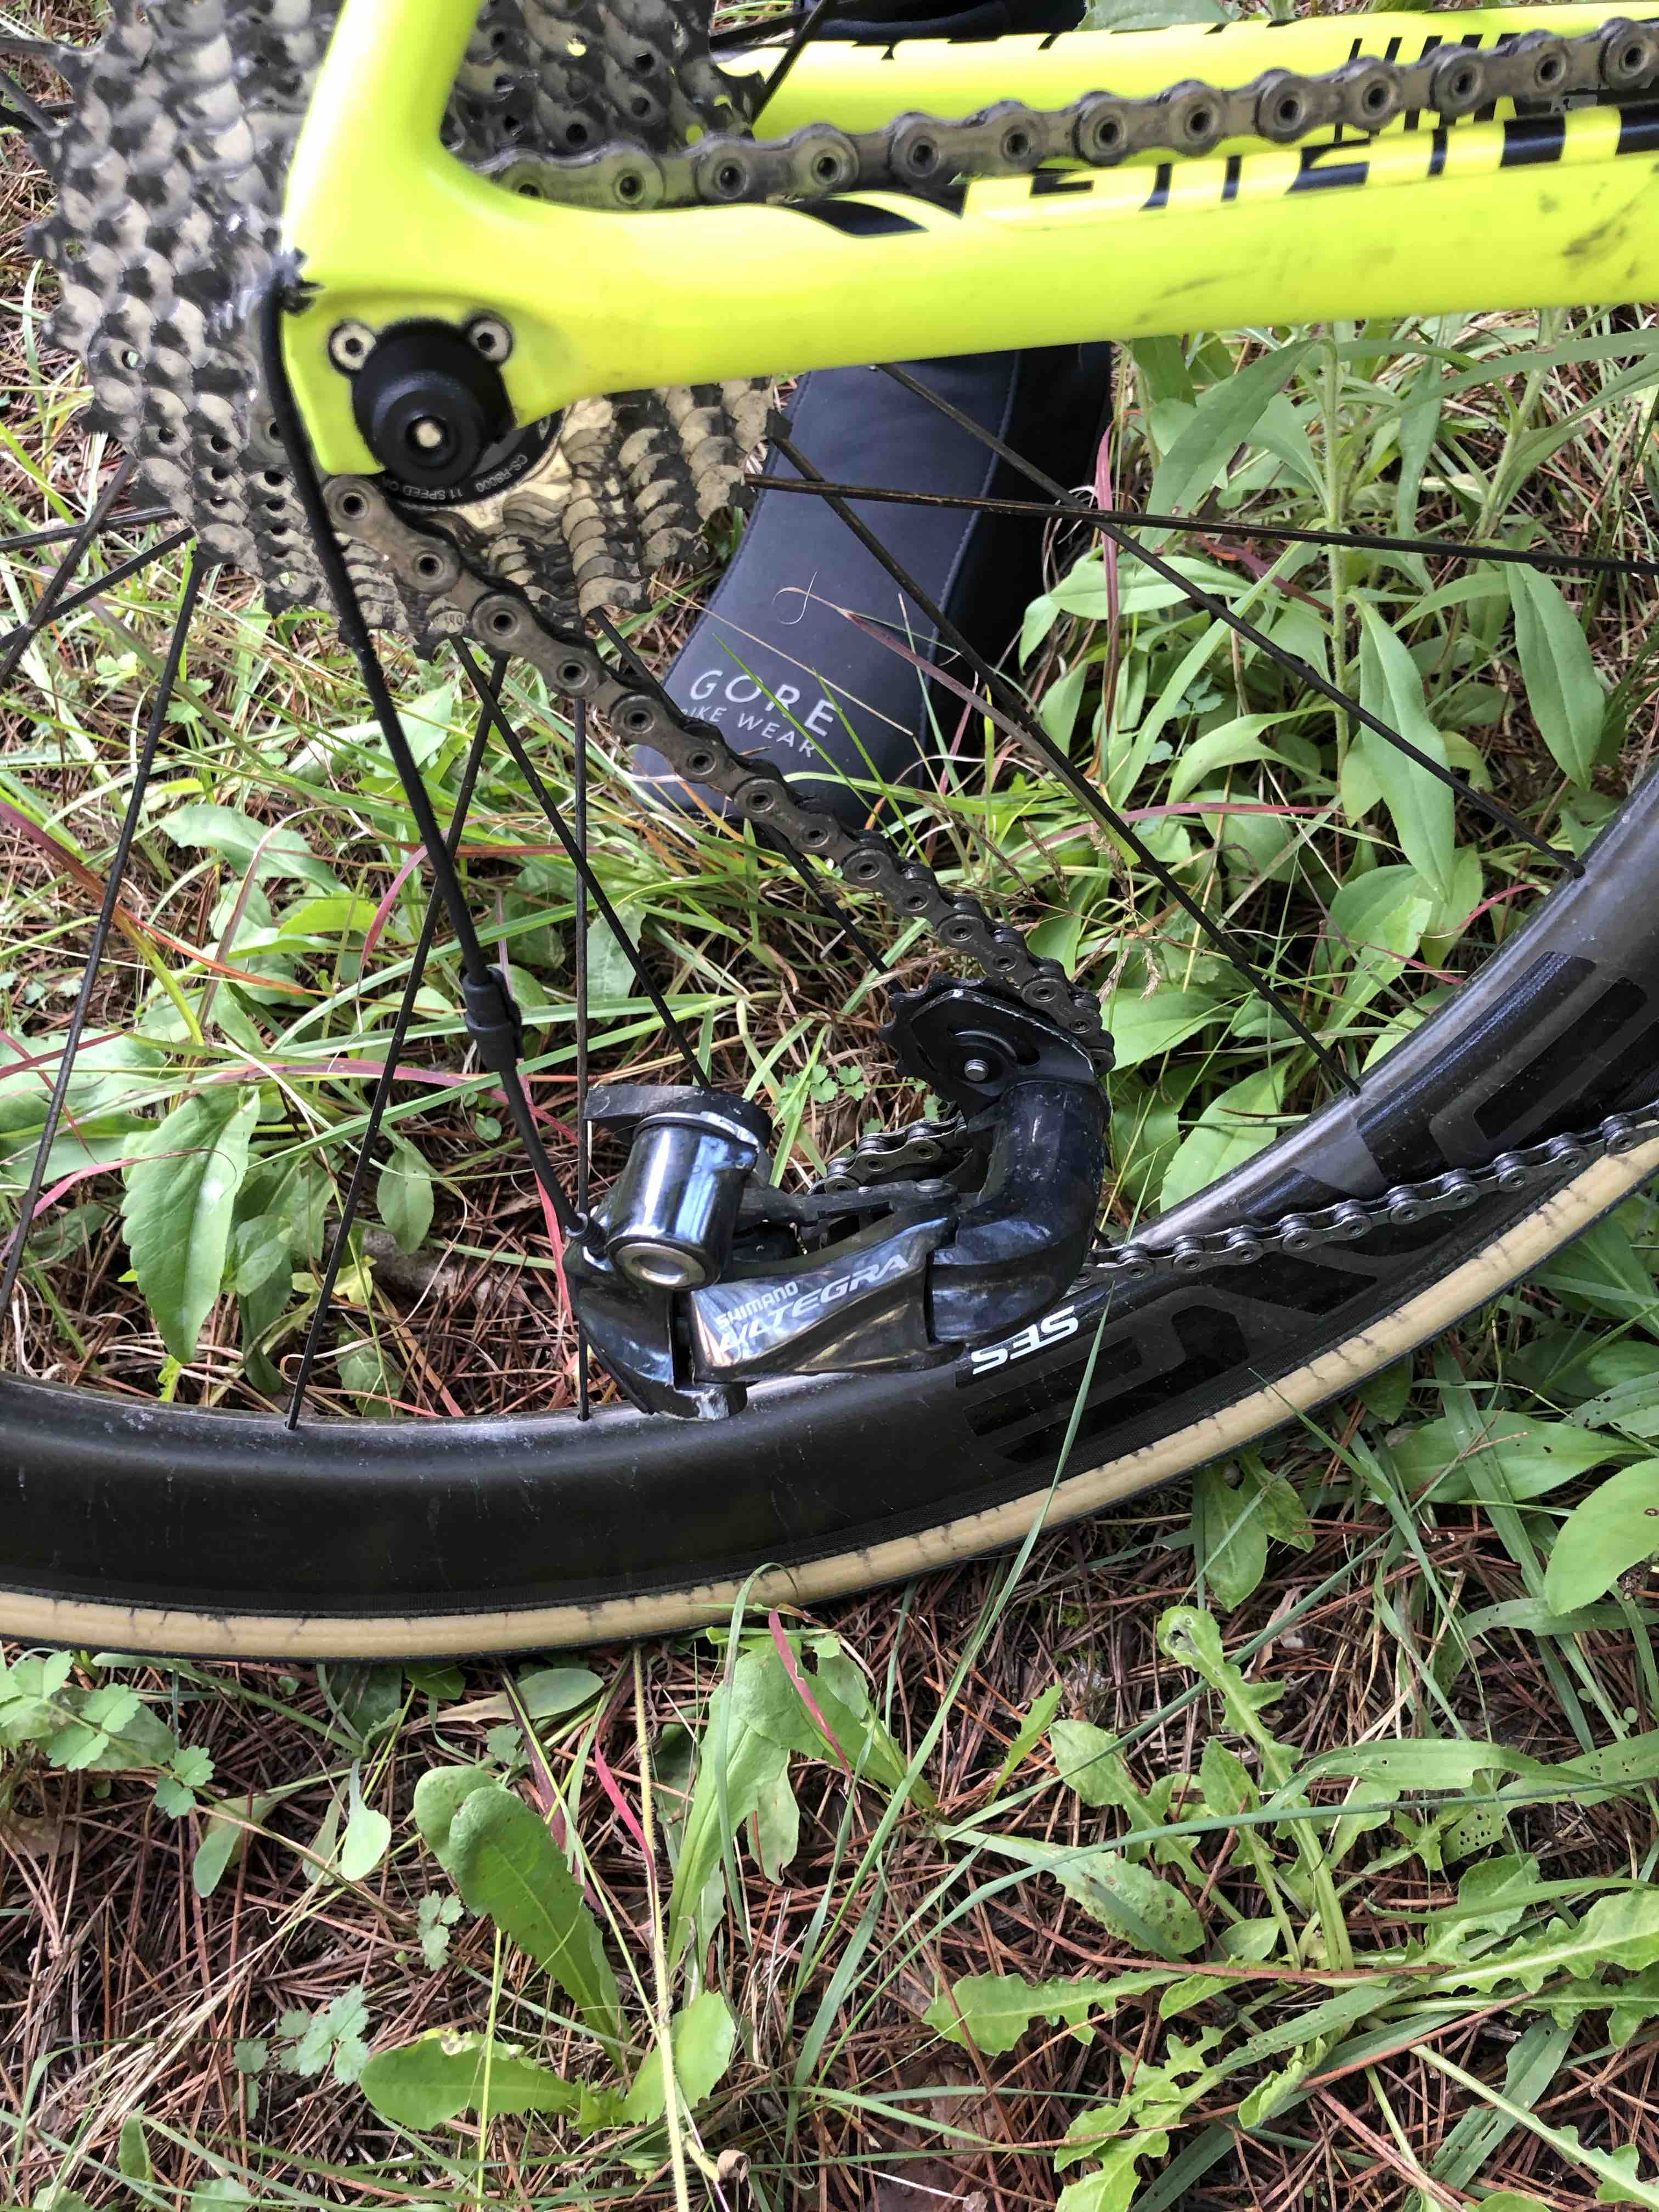
The rear derailleur on your bike connects to your frame via a small derailleur hangar, which is basically designed to break off if there is stress in the chain or your frame. This way, your frame isn’t destroyed simply because of this small connection between it and your rear mech. Instead, the inexpensive derailleur hangar breaks and you replace it instead.
I’ve known people to bring an extra one because of this. If you ride a specialty frame that isn’t one of the big manufacturers out there like Trek, Cannondale, or Giant, this may be tricky depending on where you are riding.
Luckily, the above happened after I had gone on a hard ascent up Rocacorba, and I attribute it to not taking off the derailleur while traveling, as the hangar itself was likely stressed with the extra weight of the derailleur mid-flight. I actually had to wander around Girona for an afternoon, visiting a few bike shops without knowing any Catalan, showing mechanics my hangar and hoping that they had one I could purchase from them. I finally found one, but this was after one of the Trek Travel guides had to take me (and my bike) all the way back to the hotel that day. No more riding after the climb, I guess!
On a later trip, coincidentally the first one with my Factor O2 VAM, I initially felt pretty confident packing it up as I had done this previously with my Giant TCR. I didn’t anticipate, however, the larger 28mm tubeless tires that my Factor has! I didn’t want to deflate them completely for fear that the tire beads would come off the rim, leaving me a mess with no way to remount them. I actually had to deflate them a bit (not all the way), and had to take off the disc rotor from the wheel. This required me to bring a few extra tools (particularly a lock ring) so that I could put them back on when I got to my destination.
I brought a bunch of tools with me on the last trip I did out to France in July of 2019. It was with a small group of people who didn’t all know each other, and one of them was designated the “mechanic” of the crew. They kept laughing with me because I had managed to bring many more tools than the mechanic did, several of which were used quite regularly at the chalet at which we stayed (especially the torque wrench). It’s great to be prepared! Must be the old Boy Scout in me still.
Do this at least a day or two before you leave for your trip. In case you forget anything, you still want some time to run out and grab something from your local bike shop. It’s basically the same thing most people who travel frequently do anyway, but just…with a bike.

Now just sit back, put your tray tables in their upright position, and enjoy your flight. You have cycling to enjoy!
